Loading ...

Real-time Chat Application with Bootstrap 5 & PHP Socket Programming Tutorial

Building a Real-time Chat Application with Bootstrap 5 and Socket Programming

Creating a chat application involves integrating real-time data transfer between a client and a server. By combining Bootstrap 5 for the frontend and PHP Socket Programming for real-time communication, we can create an engaging, responsive chat interface. This guide will cover setting up the UI, configuring the backend socket server, and connecting both to enable real-time messaging.

What You’ll Need

  1. Bootstrap 5 – Provides a modern, responsive UI design.
  2. PHP Socket Programming – Enables the real-time data exchange between client and server.
  3. JavaScript and jQuery – To manage client-side interactivity.
  4. PHP – For server-side logic and socket handling.

Image suggestion: A diagram showing the interaction between client and server using PHP Sockets, Bootstrap, and JavaScript.

Key Features of Our Chat Application

  • Real-time Messaging: Messages appear instantly for all users.
  • Responsive Design: Bootstrap 5 makes the application accessible across devices.
  • User-friendly Interface: A clean, modern chat window that is easy to use.

Step 1: Setting Up the Bootstrap 5 Frontend

The frontend chat interface will be built with Bootstrap 5. Here’s how to create a simple chat window.

<!DOCTYPE html>
<html lang="en">
<head>
    <meta charset="UTF-8">
    <meta name="viewport" content="width=device-width, initial-scale=1.0">
    <title>Real-time Chat Application</title>
    <link href="https://cdn.jsdelivr.net/npm/bootstrap@5.3.0/dist/css/bootstrap.min.css" rel="stylesheet">
    <style>
        #chat-box {
            height: 400px;
            overflow-y: scroll;
            border: 1px solid #ddd;
            padding: 15px;
            background-color: #f9f9f9;
        }
    </style>
</head>
<body>
    <div class="container mt-5">
        <h3 class="text-center">Real-time Chat Application</h3>
        <div id="chat-box" class="mb-3"></div>
        <div class="input-group">
            <input type="text" id="message" class="form-control" placeholder="Type your message...">
            <button id="send" class="btn btn-primary">Send</button>
        </div>
    </div>

    <script src="https://code.jquery.com/jquery-3.6.0.min.js"></script>
    <script src="chat.js"></script>
</body>
</html>

In this HTML layout:

  • The #chat-box div is where chat messages will appear.
  • The input field and button allow users to type and send messages.
  • We use Bootstrap classes for styling and responsiveness.

Image suggestion: Screenshot of the chat UI displaying Bootstrap styling and responsiveness.

Step 2: Setting Up the PHP Socket Server

Now, let’s create the PHP socket server that listens for incoming messages, broadcasts them to connected clients, and ensures real-time updates.

<?php
$host = '127.0.0.1';
$port = 8080;

// Create a TCP Stream socket
$serverSocket = socket_create(AF_INET, SOCK_STREAM, SOL_TCP);
socket_bind($serverSocket, $host, $port);
socket_listen($serverSocket);

$clients = [];

while (true) {
    $read = array_merge([$serverSocket], $clients);
    socket_select($read, $write, $except, 0);

    if (in_array($serverSocket, $read)) {
        $clientSocket = socket_accept($serverSocket);
        $clients[] = $clientSocket;
    }

    foreach ($clients as $key => $clientSocket) {
        if (in_array($clientSocket, $read)) {
            $message = socket_read($clientSocket, 1024);
            if ($message === false) {
                unset($clients[$key]);
                socket_close($clientSocket);
                continue;
            }
            foreach ($clients as $broadcastSocket) {
                socket_write($broadcastSocket, $message, strlen($message));
            }
        }
    }
}
?>

This server script:

  1. Creates a TCP socket and listens for incoming connections.
  2. Accepts multiple clients and reads messages.
  3. Broadcasts each incoming message to all connected clients, enabling real-time updates.

Step 3: Writing the Client-side JavaScript for Real-time Messaging

To send and receive messages, we’ll use JavaScript (and jQuery) to handle socket communication and display messages in the UI.

Create a new file named chat.js:

$(document).ready(function() {
    const ws = new WebSocket('ws://127.0.0.1:8080');

    ws.onmessage = function(event) {
        $('#chat-box').append('<p>' + event.data + '</p>');
    };

    $('#send').click(function() {
        const message = $('#message').val();
        ws.send(message);
        $('#message').val('');
    });

    $('#message').keypress(function(e) {
        if (e.which == 13) { // Enter key pressed
            $('#send').click();
        }
    });
});

This code:

  • Establishes a WebSocket connection to the PHP server.
  • Listens for incoming messages and appends them to the #chat-box.
  • Sends a message when the Send button is clicked or the Enter key is pressed.

Final Thoughts

With this chat application setup, you can add multiple users, making it a fully functional chat room. You can further extend this project by:

  • Adding user authentication.
  • Showing active users in a sidebar.
  • Implementing private chat rooms or channels.

This guide has walked you through creating a responsive real-time chat app using Bootstrap 5 for styling and PHP Socket Programming for back-end communication. With the code snippets provided, you can create an interactive, modern chat experience for your users.

SEO Summary

Build a real-time chat application using Bootstrap 5 and PHP socket programming with this step-by-step guide. This tutorial covers setting up the front-end UI with Bootstrap, creating a PHP socket server, and using JavaScript for real-time message handling. Perfect for beginners looking to implement real-time communication in their web applications.

Download Source Code

Related Posts

Python QR code Generator Fixing Error

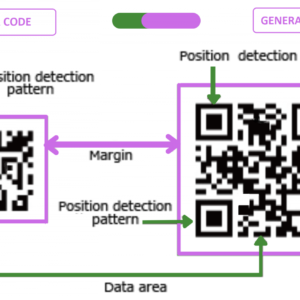
Fixing the ‘Module Has No Attribute’ Error When Importing qrcode in Python Introduction Encountering the error AttributeError: module ‘qrcode’ has no attribute ‘QRCode’ when working with Python’s qrcode module? This…

Read more

PHP Socket Programming Tutorial with Example Code and Explanations

PHP Socket Programming: A Comprehensive Guide with Example Socket programming in PHP is a powerful way to enable real-time communication between a client and a server. Through sockets, you can…

Read more

How to Create an API in PHP: A Step-by-Step Guide

APIs (Application Programming Interfaces) have become a core component of web development, enabling communication between different software applications. While PHP is known for building dynamic websites, it’s also highly effective…

Read more

How to Create APIs in Laravel with Basic Authentication | Secure Laravel APIsCreating APIs in Laravel with Basic Authentication

APIs are the backbone of modern applications, enabling data exchange between different services. Laravel provides an easy and elegant way to create APIs, and integrating Basic Authentication makes them secure…

Read more

What is an API? Understanding the Backbone of Modern Software Development

In today’s interconnected digital world, the term “API” is frequently mentioned, especially in discussions about software development, mobile apps, and web services. But what exactly is an API, and why…

Read more

WHAT IS DOS Attack? and How to perform in Linux?

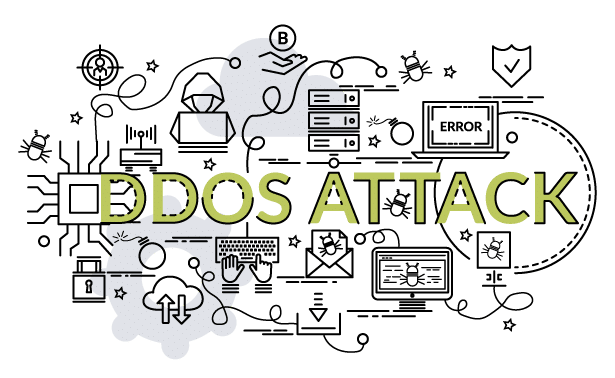
Understanding DOS Attack: An Introduction What is a DOS Attack? A Denial of Service (DOS) attack is a malicious attempt to disrupt the normal functioning of a targeted server, service,…

Read more

Leave a Reply

Your email address will not be published. Required fields are marked *